


Complete Guide To Record Your Screen On Windows 11

Windows 11 has a lot of astonishing features that you can enjoy. However, it lacks one crucial feature of letting the user record the screen. Technically, there is no built-in screen recorder in Windows 11, which is a matter of inconvenience for many users.
But there are a couple of ways through which you can capture the screen. First, it can be done using Xbox Game Bar or Microsoft PowerPoint. Another way to do this is by downloading OBS studio, which allows you to have more control over the recording. These ways are not complicated at all. You just need to follow them correctly.
Want To Record Your Screen On Windows 11: Here’s What You Can Do
How Can You Record Your Screen Using The Xbox Game Bar
Though there is no screen recorder in this operating system, there is one in the Xbox Game bar that is already uploaded. However, one downside is there in this recorder. As it is not offered by windows but by the Game Bar, it cannot record the file explorer or the windows desktop.
There should be an active window; otherwise, the recording cannot start. Also, if you think you can record the desktop or file explorer by switching, you are wrong. The recording stops on its own once you switch to either of these.
- To start or turn off the recording, you can press Windows Key+Alt+R. The other way to do this is by following the steps mentioned here.
- Firstly, you need to press the Windows key, and G. Keep in mind that the Windows key +G has to be pressed altogether. If pressed simultaneously, you will have the Xbox Game Bar overlay on the screen.
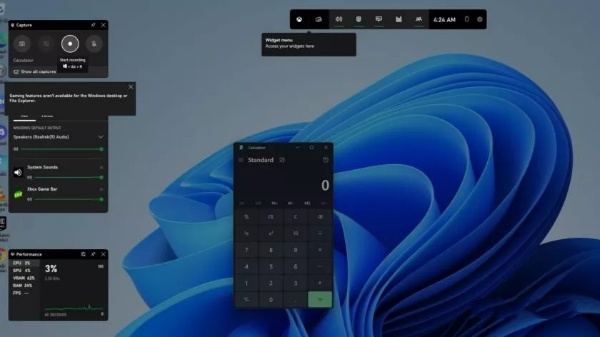
- Now go to the Capture window. Take a look at the screen’s upper left side. There is a Record button there. Click on this button.
- Right after clicking the button, the recording starts.
- When you want to stop recording, you need to look for the floating widget. On this widget, you can see the recording progress. There is also a button saying Stop recording. Click on it once you are done.
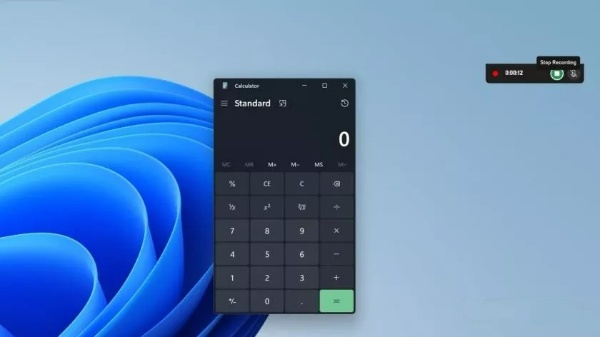
- Since the recording is done, you will receive an Xbox-styled notification that says Game clip recorded. Thus, you get a confirmation that the screen is recorded successfully.

- The file will be saved directly in the capture folder. You can find it at C Drive -> Users -> Your Username -> Videos -> Captures.
How Can You Record Your Screen Using Microsoft PowerPoint
If you want to record the screen using Microsoft PowerPoint, you need to install it on your pc first. Then, you can use the slideshow app to record the screen which is offered in PowerPoint. However, the primary purpose of this technique was to add the recording to the slide quickly. However, you can save it in the form of a separate file, making it one of the most prominent methods to record the screen.
Here’s what you can do to record the screen using PowerPoint
- First, you have to launch Microsoft PowerPoint.
- Then you need to open either the existing file or a new one.
- Now you have to select the slide which will have a screen recording added to it.
- There is an Insert tab on the menu ribbon. You can find it on the upper side of your screen. You need to click on it.
- At the very end of this ribbon, you have to go to the Media section. In this section, you must select the Screen Recording option.

- Once the overlay pops up, you have to click on the Audio and then Record Pointer toggles. This will allow you to toggle both of them on or off whenever you need.
- Then you need to click on the Select Area.
- You can select the area you wish to record by using the select tool.
- In case you desire to record the whole screen, simply press the Windows key + Shift + F.
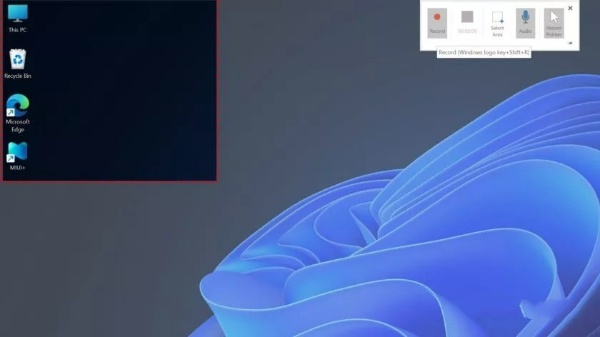
- Once you are ready to record, click Record.
- To stop the recording, either use the Stop button, or you can press the Windows key + Shift + Q.
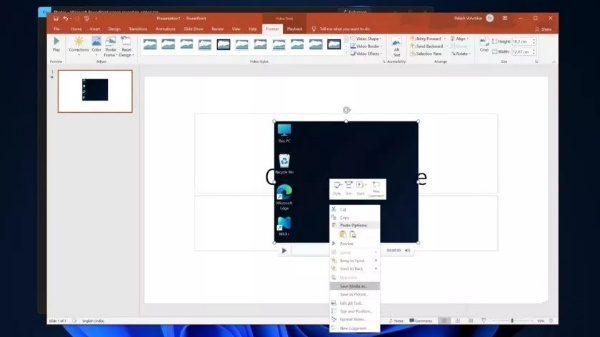
- In this way, you can add the video to the slide.
- After this, you need to right-click on the added clip to save it.
- Finally, all it is left is to name the file and save it. By doing this, you have your screen recorded as well as saved.
How Can You Record Your Screen Using OBS Studio
If the above-stated methods do not seem the right one for you, here is another solution. This method is pretty simple and requires no hassle. You can do this by using the OBS studios. OBS studios are widely known for being used for video recording. It is also streaming software that you can use to stream videos.
However, besides offering such qualities, it is free. This factor has made many people turn towards this software as you have to pay absolutely nothing for this open-source.
You can follow the given steps to record the screen using this software.
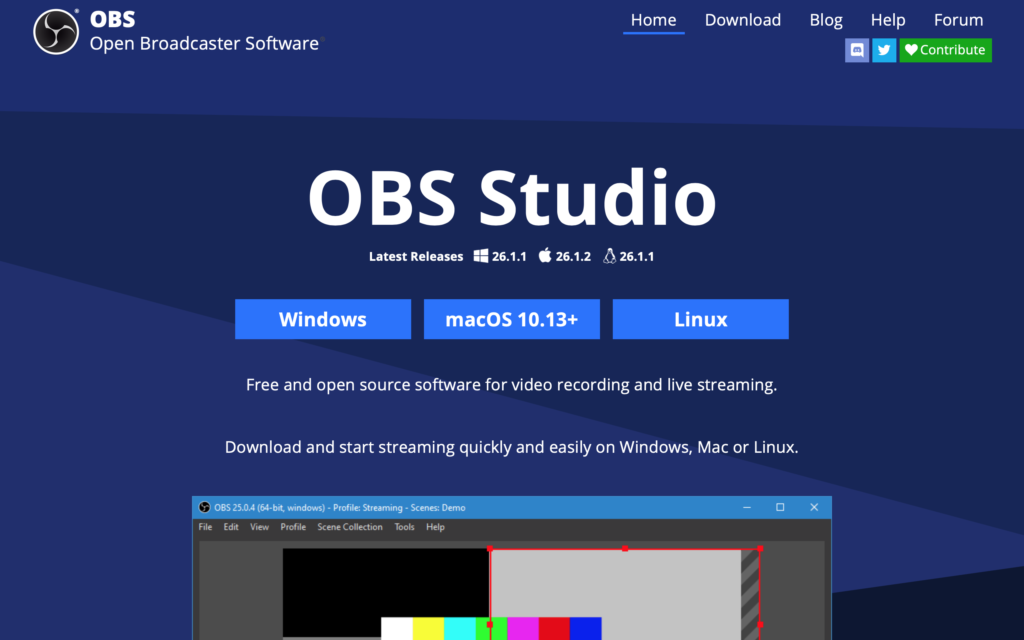
- Firstly, you need to download the OBS studios. After downloading it, you need to install it and then launch it.
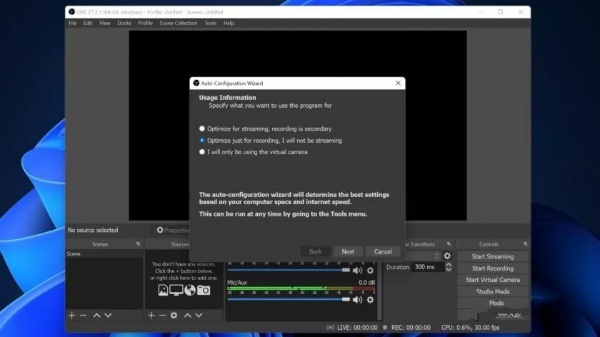
- On the launch screen, you have to select Optimize just for recording, I will not be streaming. After choosing this option, click on Next.
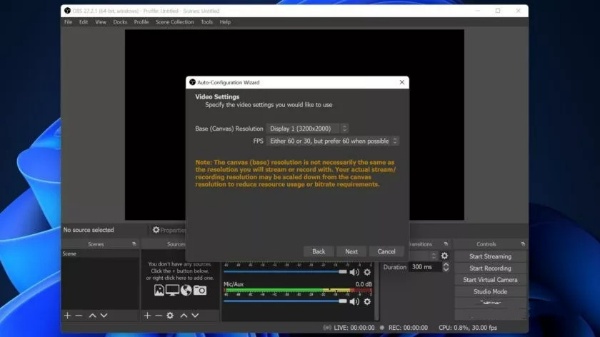
- Now you need to select the resolutions and FPS you want. After deciding upon your preferred details, click on Next.
- After confirming your setting, you need to apply them by clicking on Apply Settings.

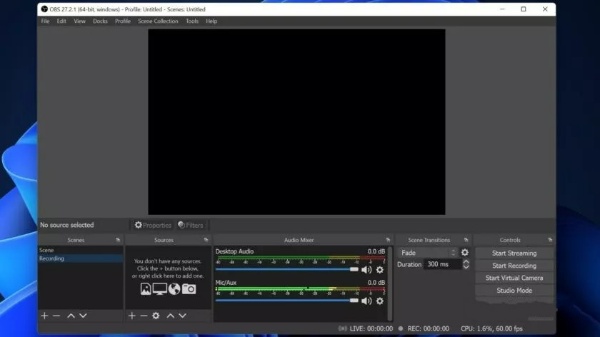
- You can add a scene by using the plus (+) icon. You will see this icon in the Scenes section, located at the left corner at the bottom. Now you need to name it and click on OK.
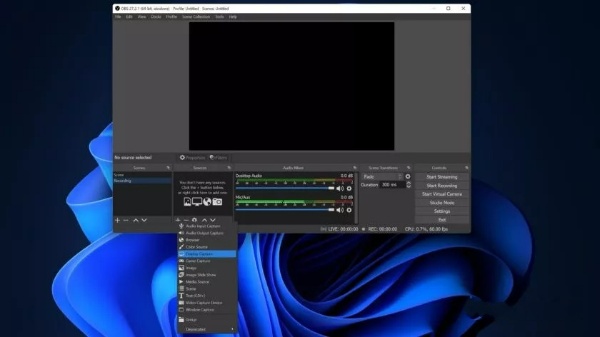
- Again click on the plus icon but in the Source section and click on the Display Capture option. After naming it, click OK.
- Choose the display to record in the drop-down menu. Then again, click OK.
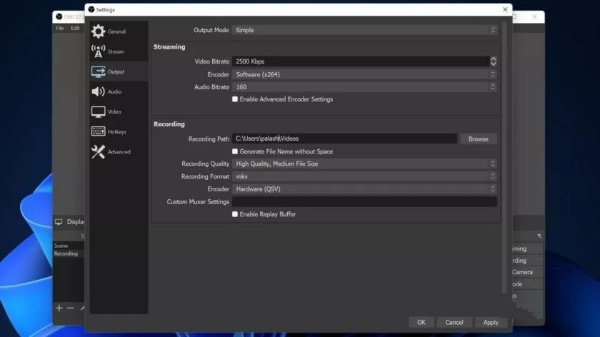
- Select Output from the Settings button. Choose the recording path as you would like it to be. Lastly, press OK.
- Simply click on Start Recording and Stop Recoding whenever you need to.
- You can find the recording easily since you have specified the path already.