


Step By Step Guide to Reset Notes Password On iPhone And iPad
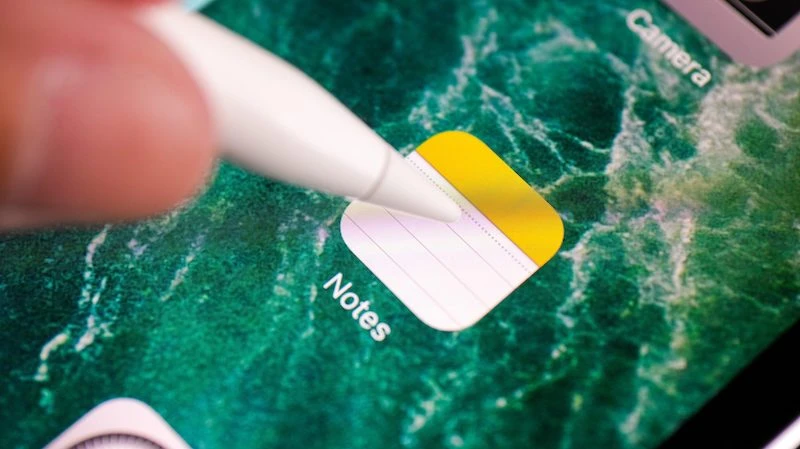
The Notes app on Apple devices offers this incredible feature of protecting your notes with a password. You can use biometric authentication or dedicated passwords to lock your secret folders in notes. The notes app also supports Touch and Face ID for further encryption to protect your critical information. However, it is customary to forget things, including Notes password.
Once you forget the password of your Notes app, you might face trouble accessing your information. As per password protection, the application will prohibit any type of access unless provided with the assigned authentication key. In such a case, you are lifting with limited choices. However, Notes offer a hint for remembering your password, which is asked while setting up the password. In addition, if you have assigned biometric authentication for Notes password, you can also access this app without a password.
But, in case of nothing seems to work for you, you are left with the only choice of resetting your password. This process is done under recovery mode to reset the application. However, resetting may lead to losing your app’s data, which is another issue. If you are looking for the complete method to reset your Notes password or recover your data, then follow this guide.
Reset Your Notes Password on iPhone and iPad with These Easy Fixes:
Recovering Data From Locked Content On Notes In iPhone
After resetting the password of your Notes app, you will ultimately lose the entire data. Unfortunately, this means there is no way to recover your data after resetting the app as resetting settings of the app are changed by the user. However, those smart enough to set Touch of Face ID for accessing the app can quickly get the backup from your Notes app.
Follow these steps to recover data from your Notes application before resetting it.
- Open the Notes app on your iPhone or iPad.
- Click the View icon on top, and select the Lock icon on the top-right corner of your screen.
- Open the contents you have locked in this application using biometric or Face ID.
- After accessing the hidden or locked files, copy everything you want to recover.
- Now go back to the homepage of Notes and paste this locked content into a new tab.
- Now your content is stored in a normal Notes tab, and resetting the password will not affect it anyway.
As you have now recovered the locked content, you can now move forward towards resetting your Notes password. Your content is safe now, and you can easily copy or share it to another device if you want further assurance.
Note: Even for biometric or Face ID protected Notes accounts, it is impossible to change your password. Setting your new password to lock content on Notes requires your old password for confirmation. You cannot set a new password with Face or Touch ID authentication. This leaves you the only choice to reset your password to set a new one.
Step By Step Guide To Resetting Password of Notes On iPhone
First, make sure you have a backup of your Notes app. If resetting the password doesn’t work, then you can move ahead to restore your application completely. By restoring your Notes app, its data won’t be lost. In addition, restoring the password will reset your app and remove all the Lock settings from it. To reset your password of the Notes app on your iPhone without using a third-party application, just follow these below-mentioned steps.
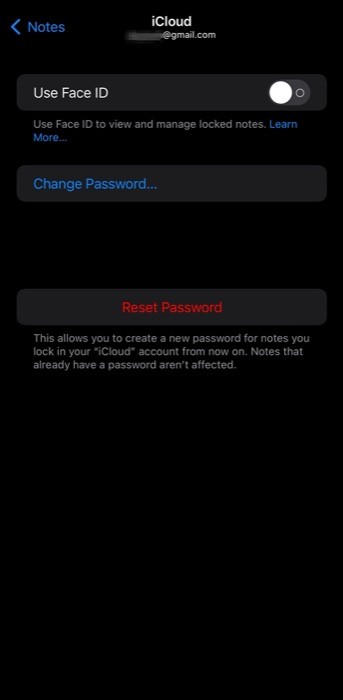
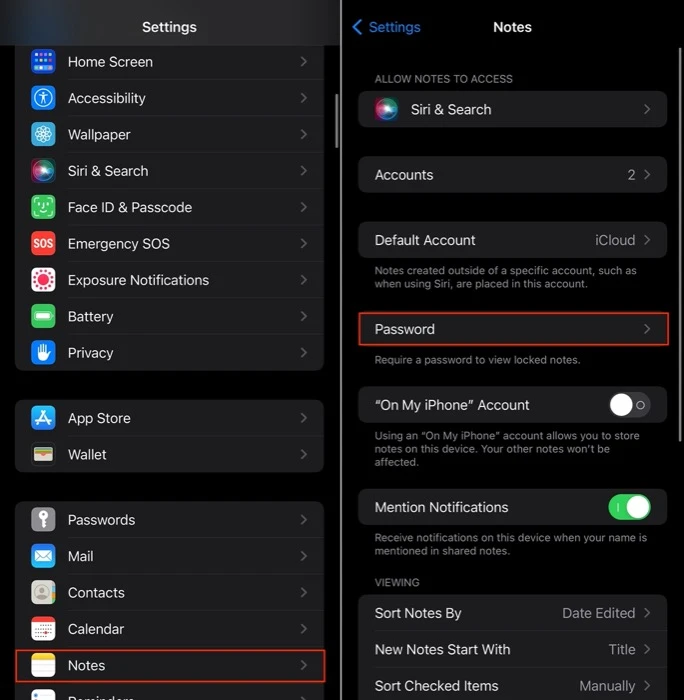
- Go to “Setting” on the device you want to reset the password.
- From the application tab, click on Notes.
- Open the password tab in your Notes app menu.

- Now you will see Reset Password options. Select this “Reset Password.”

- For resetting the password, you will have to share your Apple ID password. Enter your Apple ID password and click on proceed.
- A confirmation will be asked from you for resetting your password. Confirm it and wait for some time.
- Now enter your new set password again and tap on “Set Password .” After that, you only have to re-enter the same password and move with verifying all the necessary fields.
After selecting Done, you are all set with your new password. You can now access your Notes app with a new password completely recovered from its locked state. You can use this password to lock content in your Notes app from now on. Resetting your password disables access with Face or Touch ID. Ensure access using biometrics from the setting to avoid any such issue in the future.

Note: While resting your password, make sure to choose a strong remember hint which is strongly related to you. This will help you recover your password if any issues prevail in the future.
Frequently Asked Question
· How can I reset the password of Notes on iPhone without adding a new Touch ID?
In this case, you cannot change your password as Touch ID or Face ID authentication is disabled once you reset your password. You must set up a new password for restoring your application completely.
· How can I reset my password using biometric authentication?
For biometric authentication recovery, you will require the backup of your Notes app. You are left with only two choices. In this case, either you can recover the backup or go for complete restoration of the Notes app without affecting its data.
· Can I change my notes password without my old password?
No, you cannot change your password with the old password. You have to re-enter a new password on App Store to reset your Notes password. After resetting, you can set a new password easily as per your choice.
· Can I use biometric authentication without my old Notes password?
Yes, you can access your application using Face or Touch ID authentication without entering the old password. But, of course, you can also use Touch ID without entering the old one.